

Step by step
-
Measure and plan. Every roofline, peak and gable that will be lit gets measured, and the route back to power is worked out before anything goes up.
-
Cut the lights to length. This is the real difference. Retail strands come in fixed lengths, so a do-it-yourself roofline ends with a slack loop or a dark gap. Most professional installers work from bulk light line and cut each run to the inch.
-
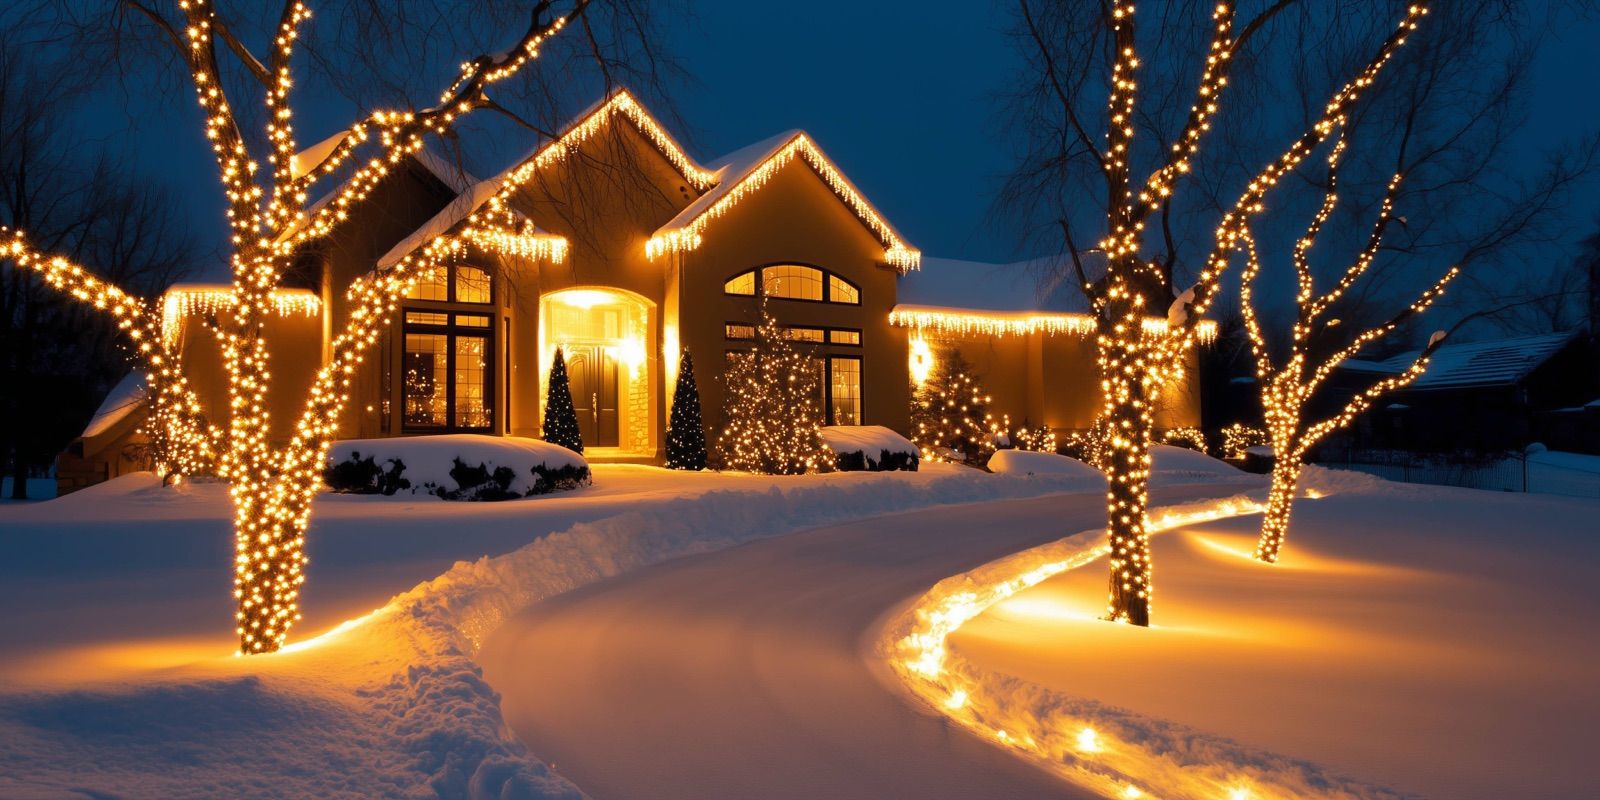
Clip, do not staple. Clips grip what is already there - the gutter lip, the shingle edge, the fascia. Nothing gets nailed or stapled into the house, and every bulb sits at the same angle.
-
Hide the cords and test. Connections are tucked out of sight, the whole run is switched on, and problems are fixed before the ladder goes back on the truck.
-
Plan for January. The part nobody photographs. Someone has to come back when a section goes out, take it all down, and store it so it works next year.
What professionals use
- Light line cut to length instead of boxed strands
- Clips matched to the surface: gutter, shingle, fascia or ridge
- Outdoor-rated cords and a timer
- The right ladder for the height, and a second person on the ground
How to make your own lights look professional
If you are doing it yourself, four things make the difference.
- One color of white. Warm and cool white on the same roofline look like a mistake. Warm white vs cool white.
- Straight lines. Follow the roofline exactly and keep every bulb pointing the same way.
- No slack. Finish each run at a corner or a peak, not halfway along.
- A timer. On at dusk, off late evening, without you thinking about it.
When it is worth paying someone
A single-story ranch on a dry October afternoon is a reasonable Saturday job. A second story, a steep pitch, a metal roof or a Vermont roof with ice on it is a different question. Getting on a ladder in November is how people get hurt.
How we do it
Your lights are measured and cut to your roofline in the colors you choose, clipped properly, run cleanly and tested before we leave. Then we maintain them through the season, take them down in January and store them until next year.